Your Cart is Empty

For decades, Seaview has been at the forefront of developing innovative mounting solutions built to withstand the harshest environments. Now, APEX by Seaview brings years of marine-tested expertise to the world of RVs, overlanders and vans. APEX by Seaview provides robust mounting options and watertight cable sealing solutions engineered to endure extreme conditions.
Measure every cable jacket and the widest part of every connector. Then choose vertical or horizontal entry, the number of cables, whether an installed cable needs a split retrofit housing, and the required material and finish.
Measure every cable jacket and the widest part of every connector. Then choose vertical or horizontal entry, the number of cables, whether an installed cable needs a split retrofit housing, and the required material and finish.
Choose the closest drill-tube diameter within ±0.02 in (±0.508 mm) of your measured cable diameter. A tube may be smaller or larger by no more than this amount. If none of the supplied 6, 8, 10 or 12 mm tubes qualifies, use a matching-size tube. The hole layout still needs at least 1/8 in of rubber at the edge and between holes.
Each cable needs a separate hole with at least 1/8 in (3.175 mm) of rubber between holes and at the outer edge. Round vertical seals can nest holes; horizontal seals keep them in a row. The selector checks hole layouts and suggests drill-tube sizes. CGM90 uses its factory-marked drill centers.
This guide uses a maximum cable diameter of 12.7 mm (0.50 in) and a maximum connector diameter of 17 mm (0.67 in) for CGM17. Check the connector shape, installation drawing and actual cable route before drilling.
A split retrofit housing assembles around a cable that is already installed and cannot be re-run. Check the existing surface hole, coverage and screw locations. Standard vertical and horizontal cable seals have different installation requirements.
The top-down planning view shows each entered cable diameter, minimum edge rubber, suggested drill tubes and razor-cut lines from hole edges to the rubber edge. Enlarge or download the drawing, then verify it against the actual rubber plug and installation instructions. It is not a drilling template.
Find your antenna across the top, then compare the cable seal options below.
| Cable seal | Performance Gen 3 | Standard / Gen 3 | Mini | Performance Gen 2 / Flat HP | Standard Actuated / Enterprise |
|---|---|---|---|---|---|
| CG20 vertical sealsSingle cable, vertical entry | Yes | Yes | Yes | Yes | Yes |
| CG30 vertical sealsLarger cable or connector clearance | Yes | Yes | Yes | Yes | Yes |
| CG20PG2 / CG30PG2 retrofit sealsFor an existing cable that cannot be re-run | Yes | Yes | Yes | Yes | Yes |
| CGM17 vertical multi-cable sealsMultiple cables, subject to layout checks | Yes | Yes | Yes | Yes | Yes |
| CG2090 / CG2090WHorizontal 90° cable entry | Yes | Yes | Yes | No | No |
| CGM90 / CGM90WHorizontal multi-cable seals | No | No | No | No | No |
Yes indicates compatibility listed in the Seaview Starlink cable seal cheat sheet. Confirm your exact antenna, cable diameter, connector size and installation route. Multi-cable layouts also require hole-spacing and remaining-rubber checks.
Check your cable and connector sizes in the Cable Seal Builder →Cable seals · Instrument and display pods · Installation instructions · Find a Seaview dealer
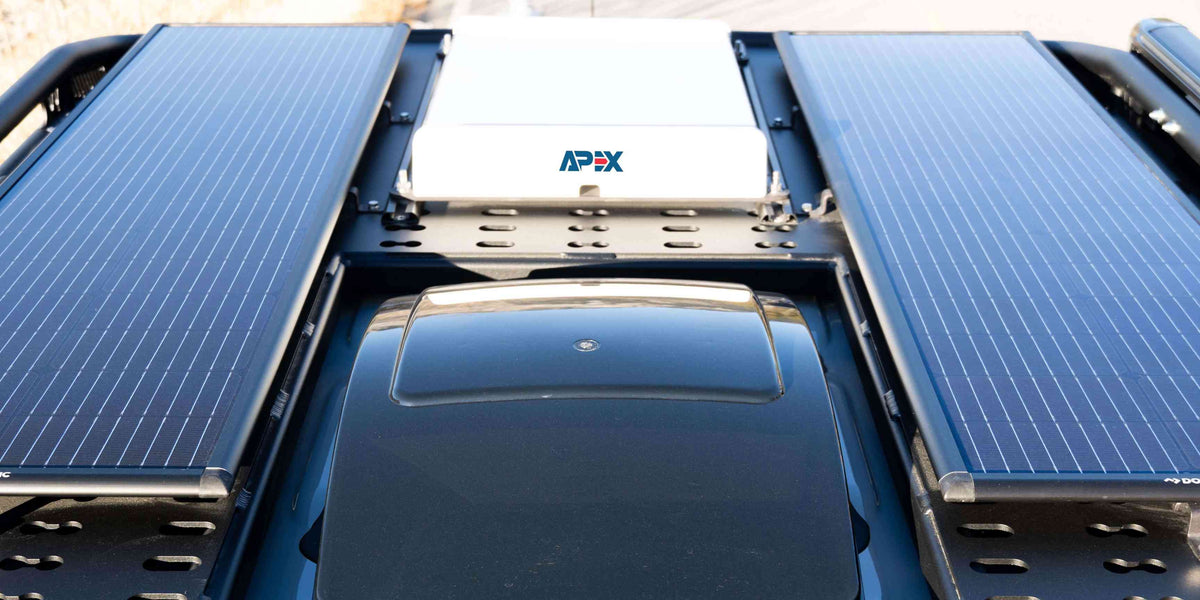
Choose a Starlink antenna and compatible APEX mount. Save 20% on the mount.
Shop Starlink packages
APEX cable seals offer 100% watertight cable routing, eliminating the need for messy sealants. Engineered for superior durability, these seals provide exceptional protection in harsh environments, keeping your cables neat, organized, and fully protected. Ideal for rooftop electronics such as Starlink, solar panels, and lights.